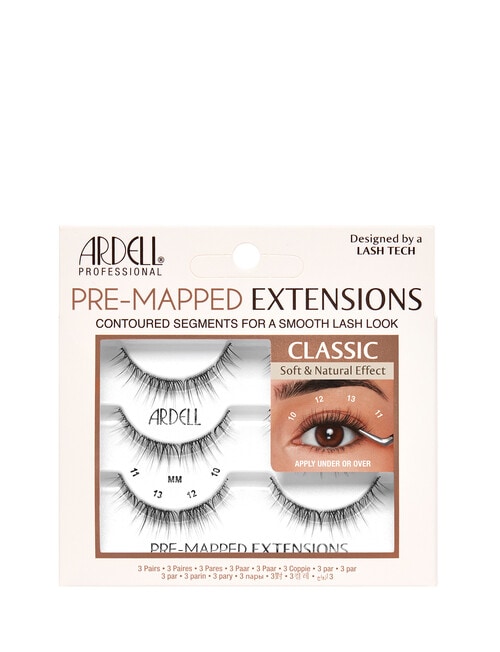
Artistry meets simplicity! MAP MY LASH® takes the guesswork out of placement with an easy-to-follow blueprint for creating today's most sought-after, salon-requested styles in the comfort of your home. Mapping, a technique used by lash techs, is all about the optimal blending of different lengths and curls and their strategic placement along the lash line to achieve the look you're going for.
With pre-mapping, the work is done for you to simplify, save time & sidestep mistakes. Our professional lash tech designed the Classic Lash map with shorter lengths of 10 mm at the inner corner, transitioning to 12 mm under the brow, reaching its longest length of 13 mm under the highest arch point, and tapering to 11 mm at the outer corner.
Light volume, rounded silhouette provides a balanced look that's soft, natural and easy-to-wear, perfect for the "no makeup" makeup trend. An ever-popular staple in the lash artist's arsenal, the Classic Lash emphasizes eyes without being overpowering. Segments are contoured to your eye shape for a smooth finish.
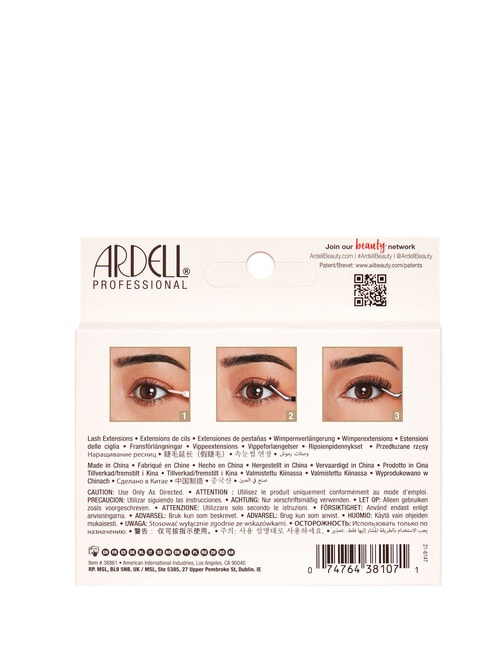
1. Prep Your Lashes
Clean: Start by cleaning your eyelids and natural lashes with an oil-free cleanser (like micellar water) to remove any makeup or oils.
Dry & Curl: Let them dry completely, then use a lash curler to give your natural lashes a slight lift.
Lay it Out: Open the Ardell Pre-Mapped tray. The clusters are arranged in an eye-shape sequence. Ensure you know which cluster is for the outer, middle, and inner corners.2. Apply the Bond / GlueDepending on your preferred wear time, apply your adhesive of choice: Under-Lash Method: Apply a thin layer of Ardell Lash Bond or duo glue (sold separately) directly to the base of your natural lashes, staying slightly away from the waterline.Over-Lash Method: You can also brush the adhesive directly onto the band of each individual cluster. 3. Place the ExtensionsStart at the Outer Corner: Use the Ardell angled boot tweezer or standard lash applicators to gently lift the first segment from the tray.Apply: Place the cluster directly under or above your natural lashes, working your way from the outer corner to the inner corner.Pro Tip: Overlap the ends of the lash segments by about 1 mm for a seamless, continuous look. 4. Secure and SealClamp: Use your tweezers to gently squeeze your natural lashes and the extensions together.Seal: Once all clusters are placed, brush a layer of Ardell Lash Seal across the bases. This locks them in place, secures your look for days, and removes any sticky residue.Lashes are made from feather-light fibres that look and feel like the strands lash artist's use.
- External use only.
- Only use as directed.
- Keep out of Reach of Children.
-
-
-
-
-
-
-